Scroll
The Artist
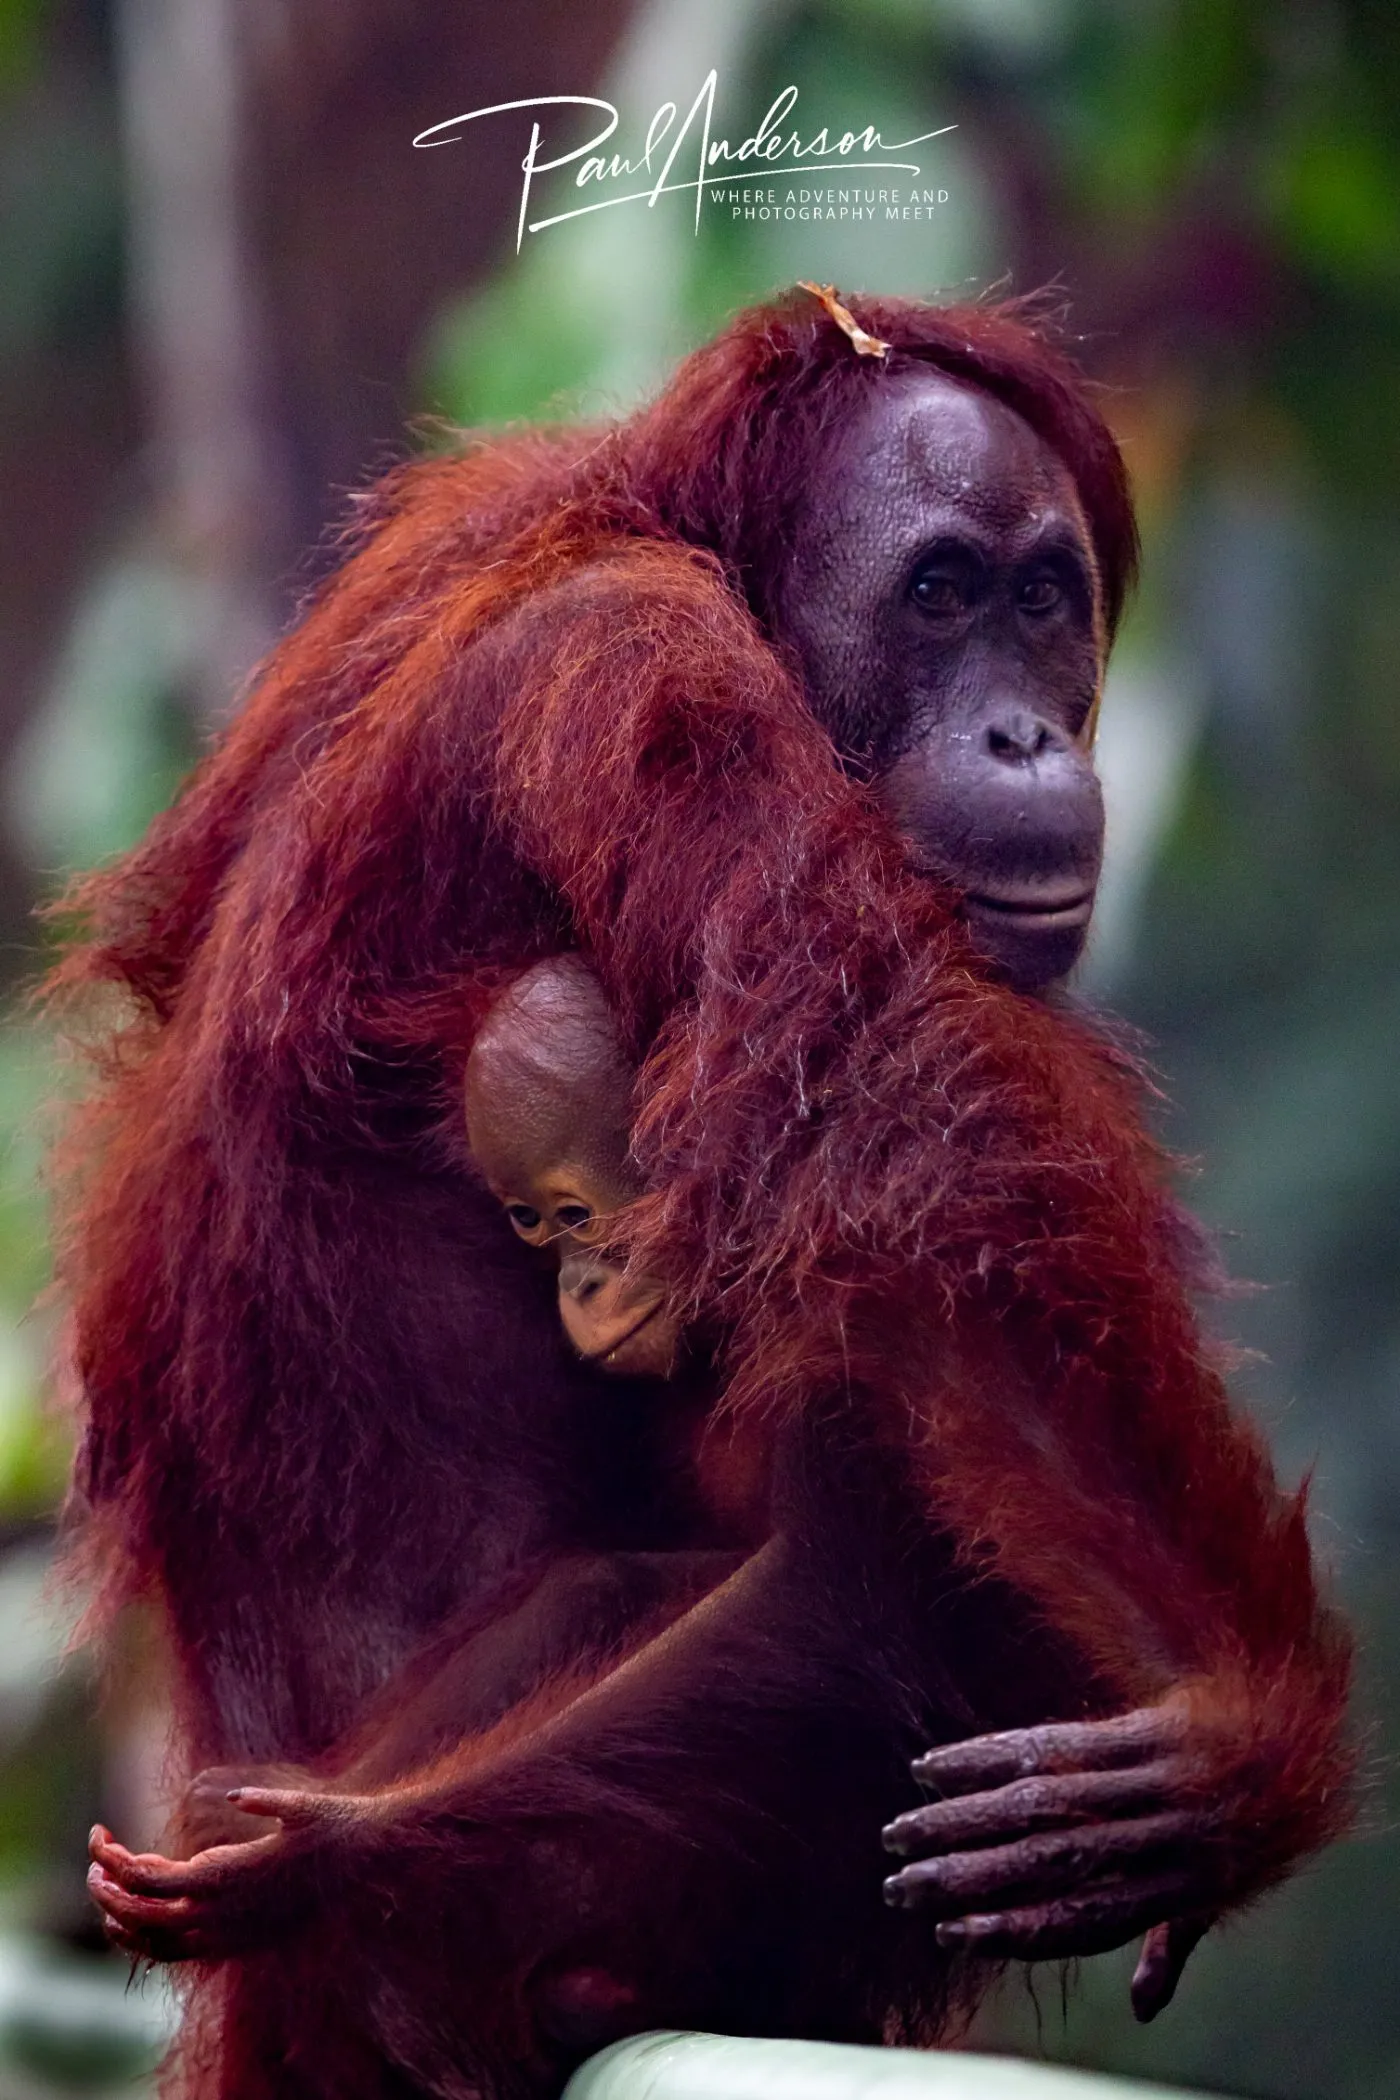
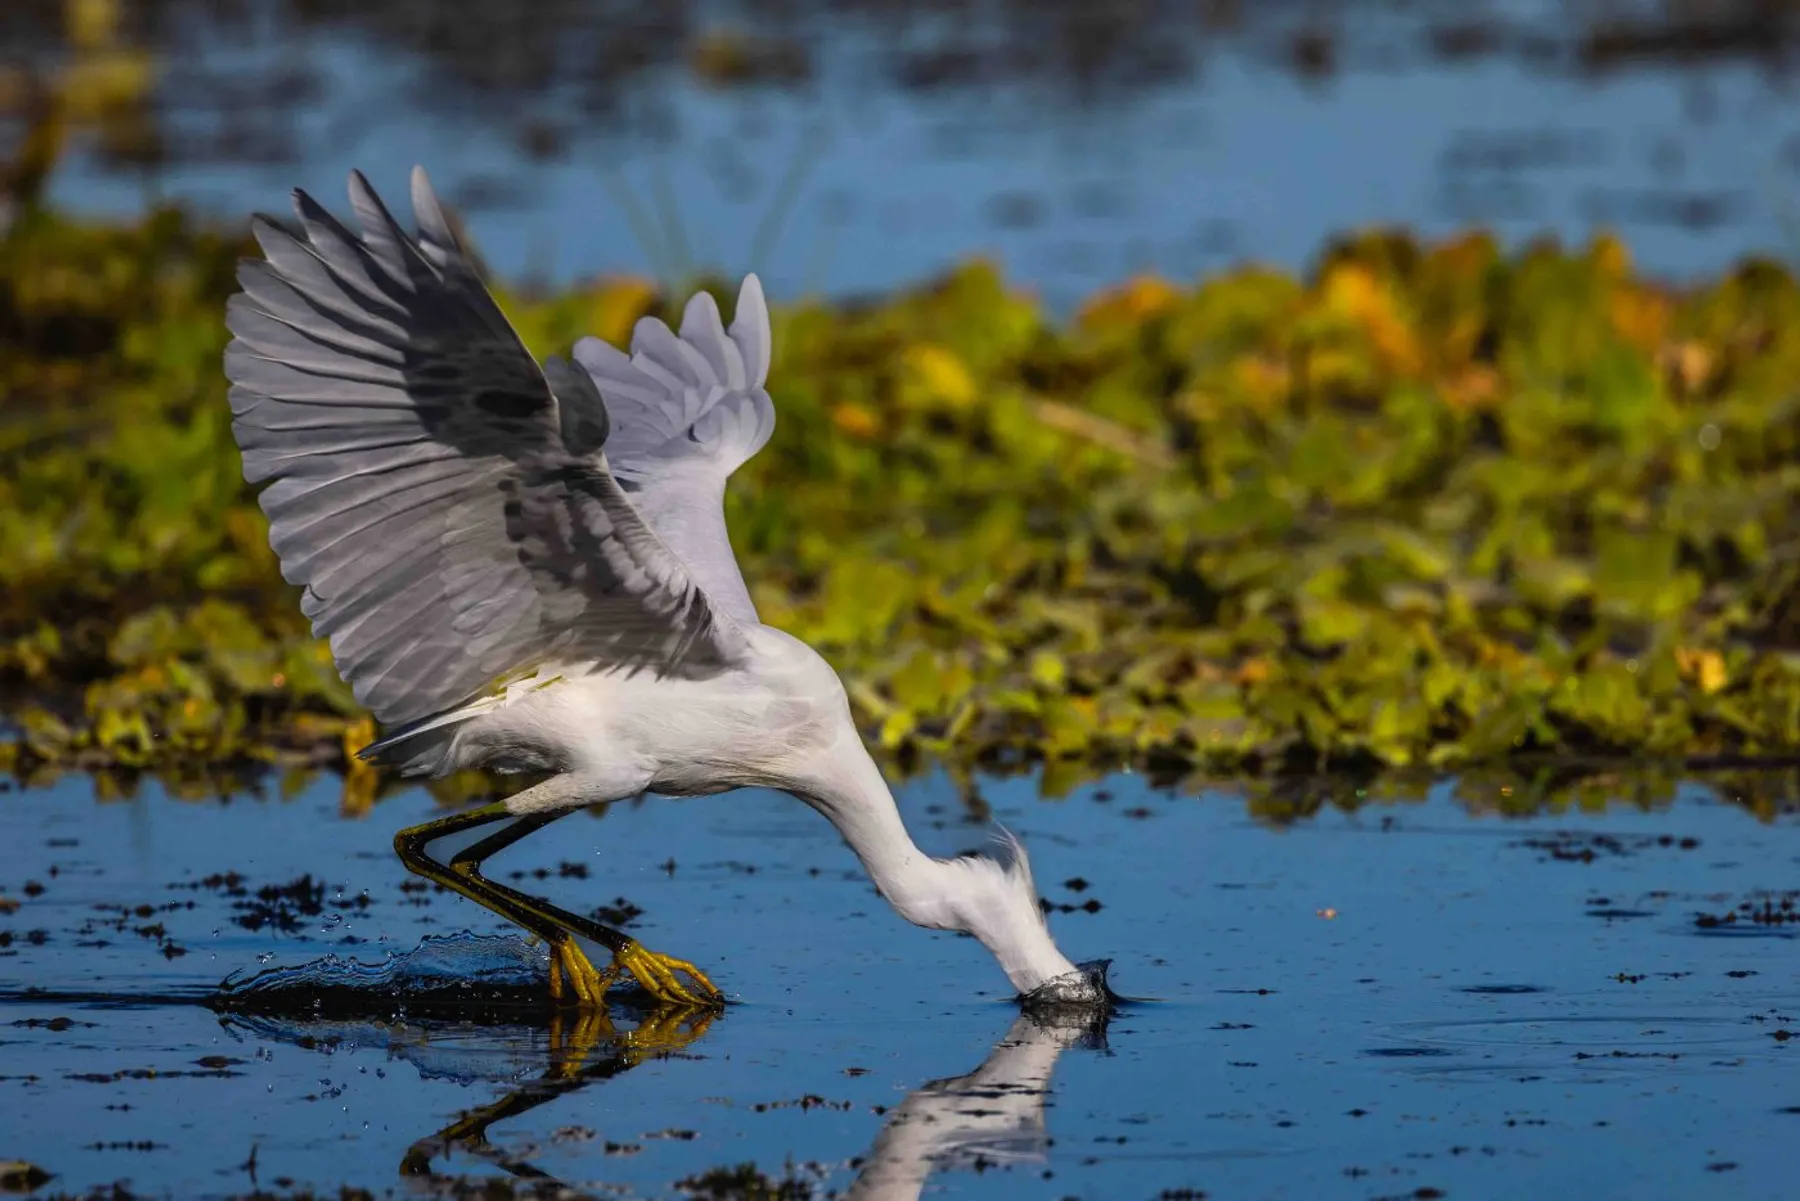
From the Everglades
to Borneo.
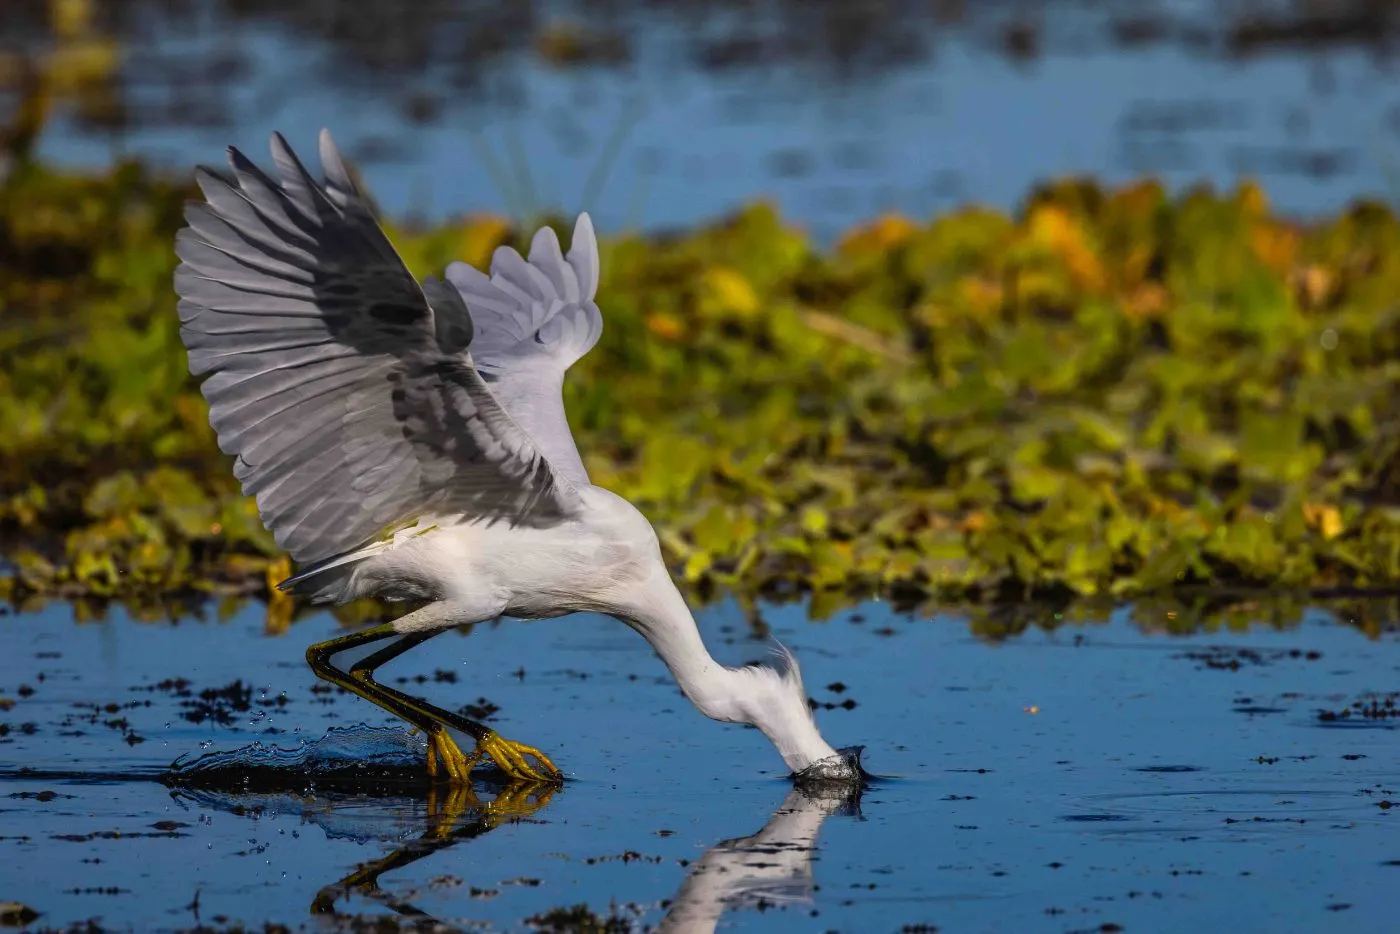
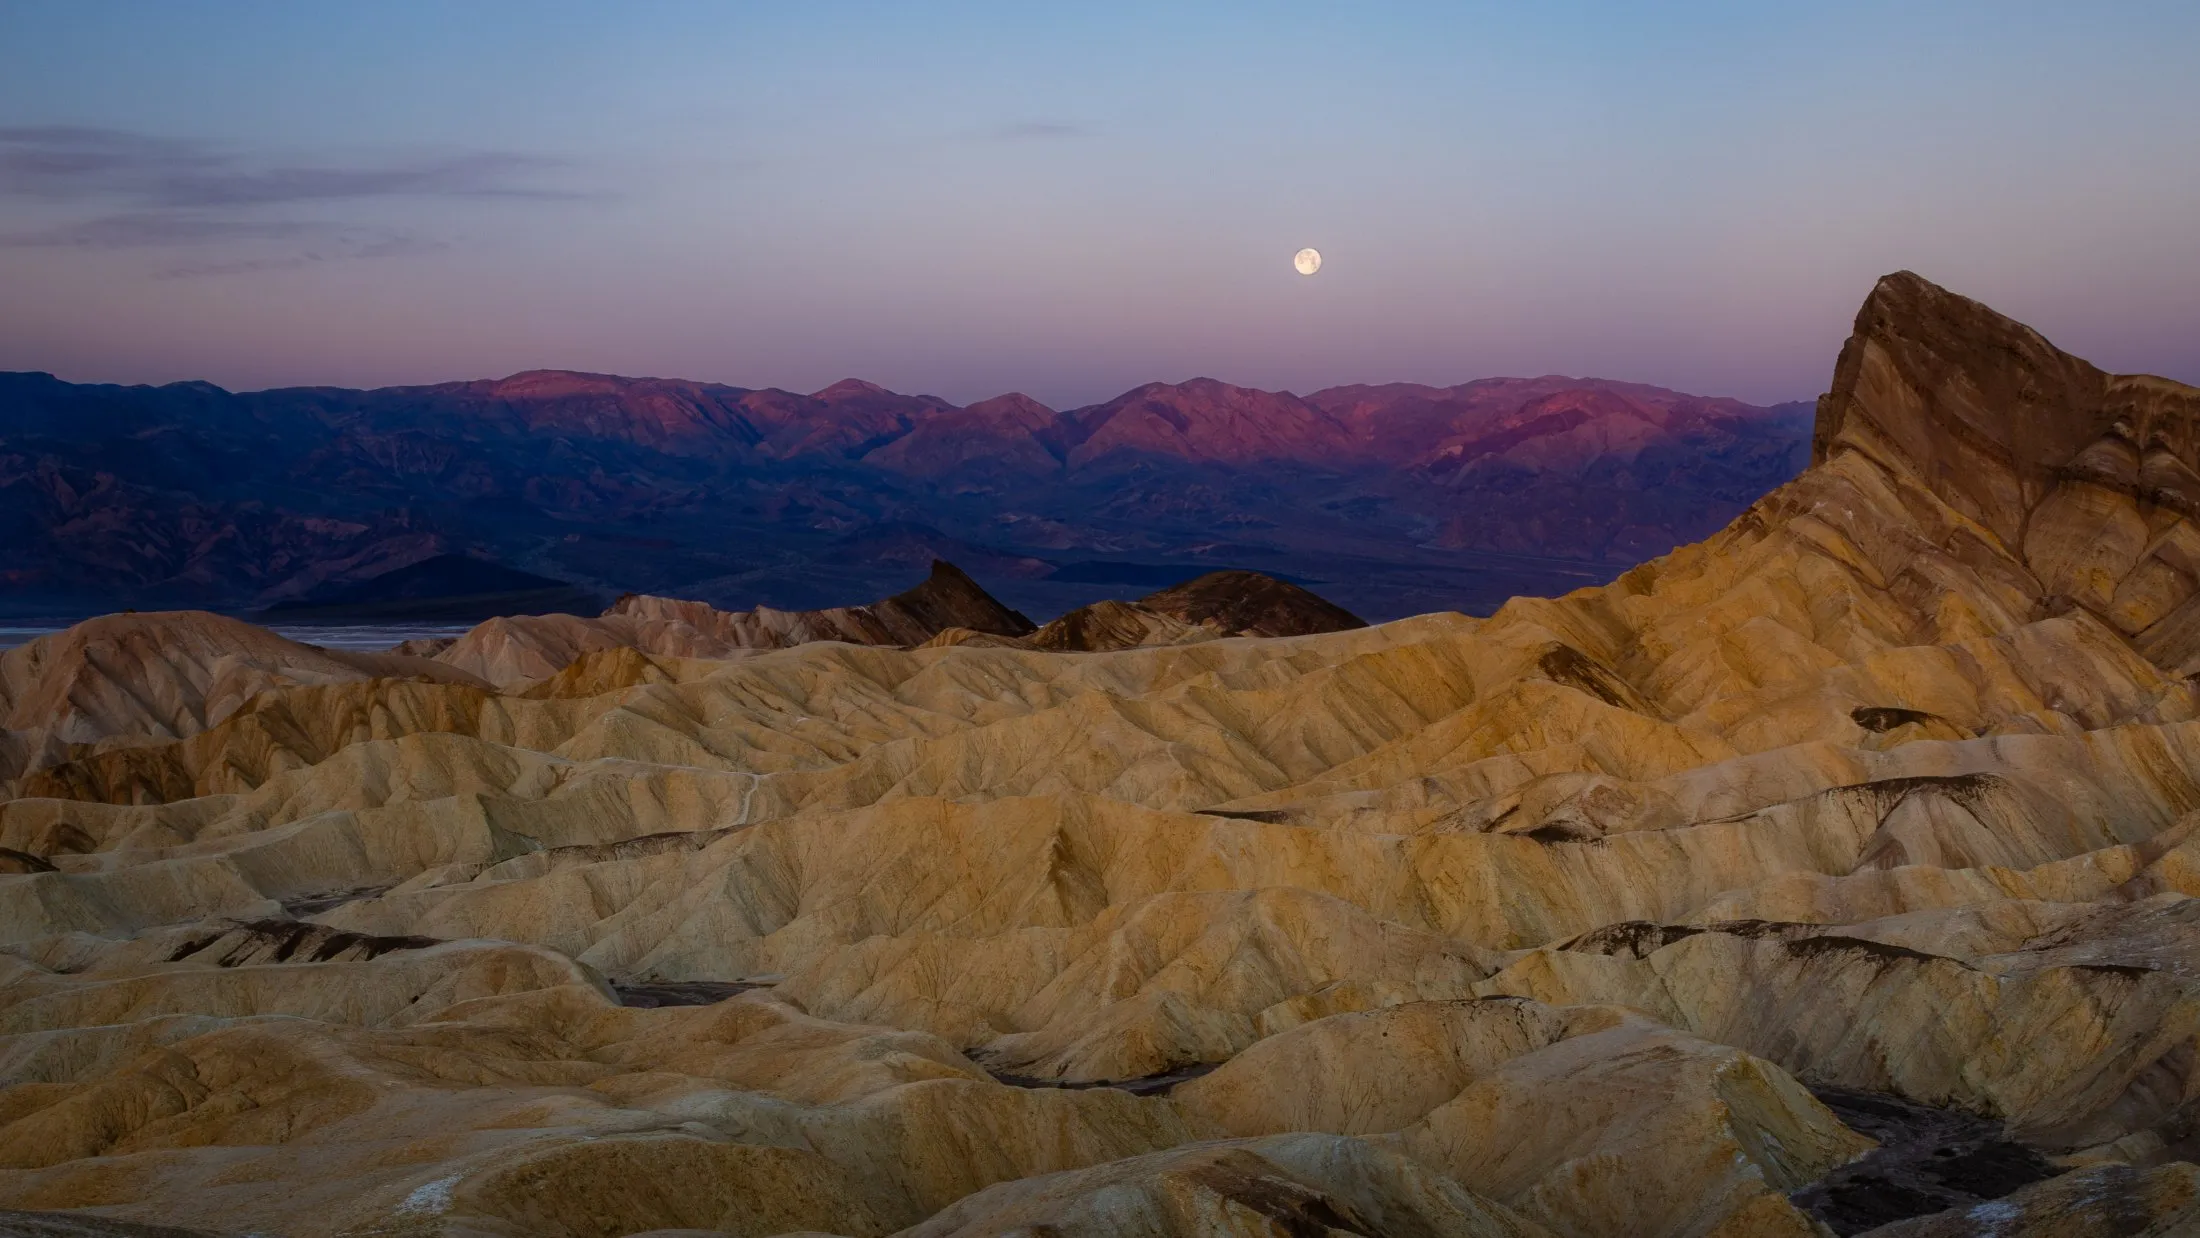
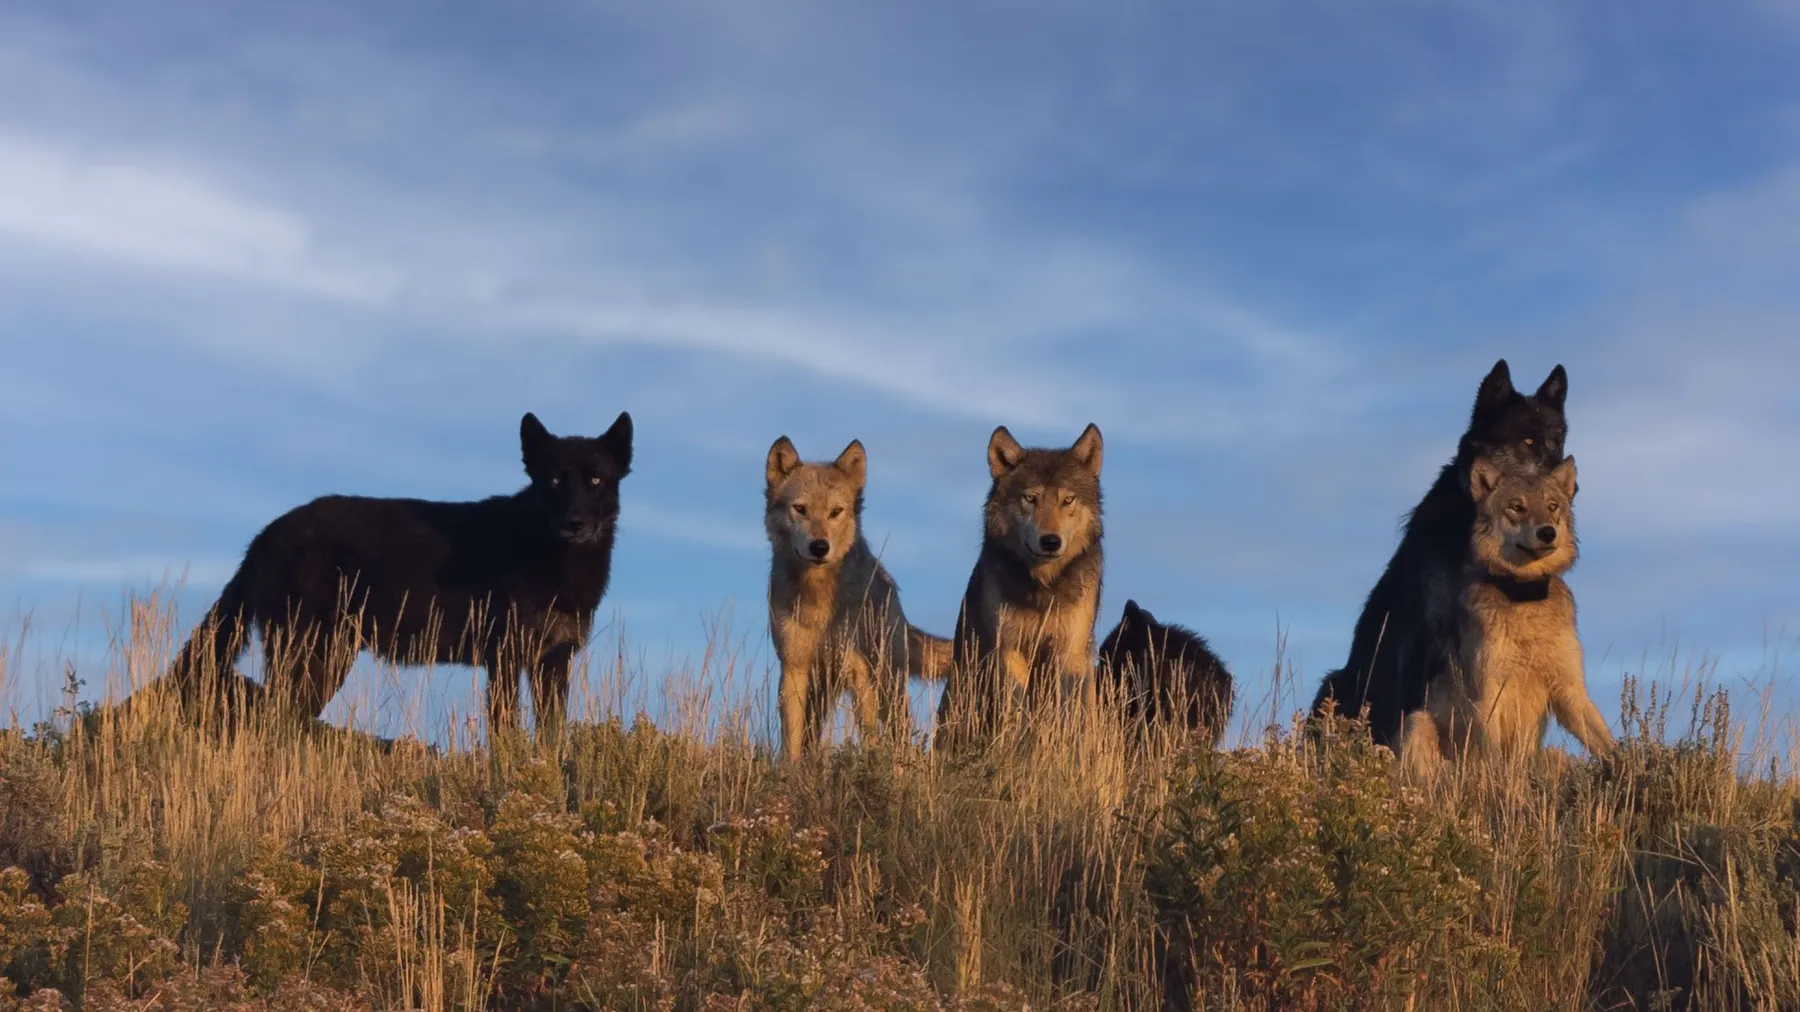
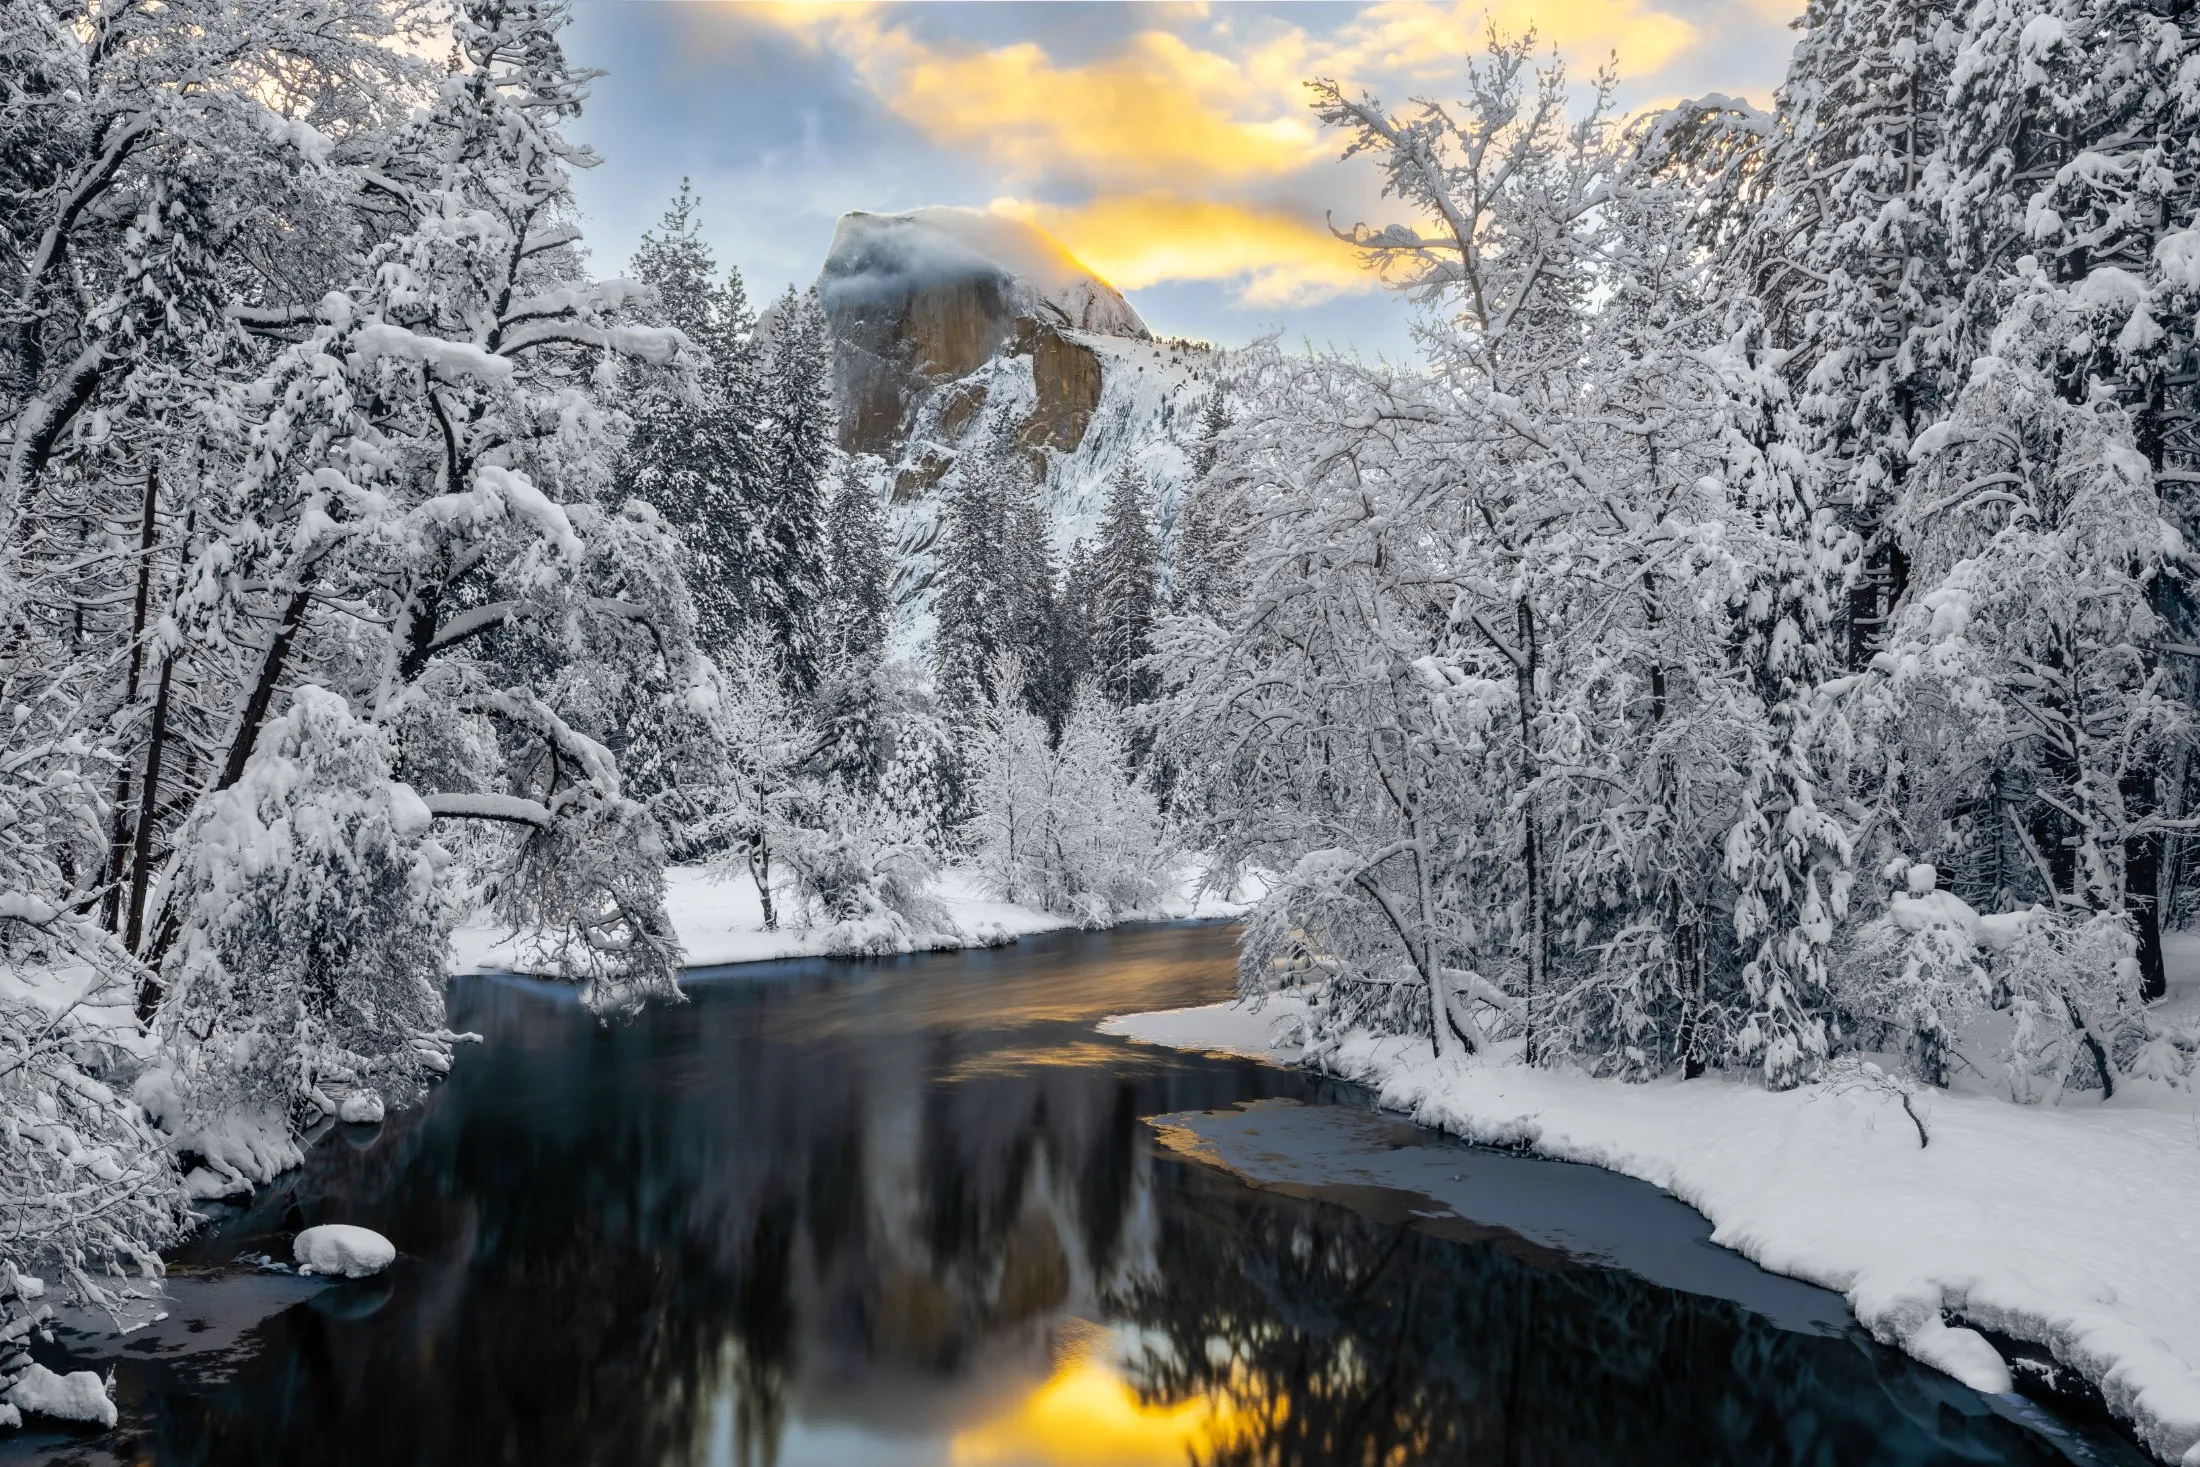
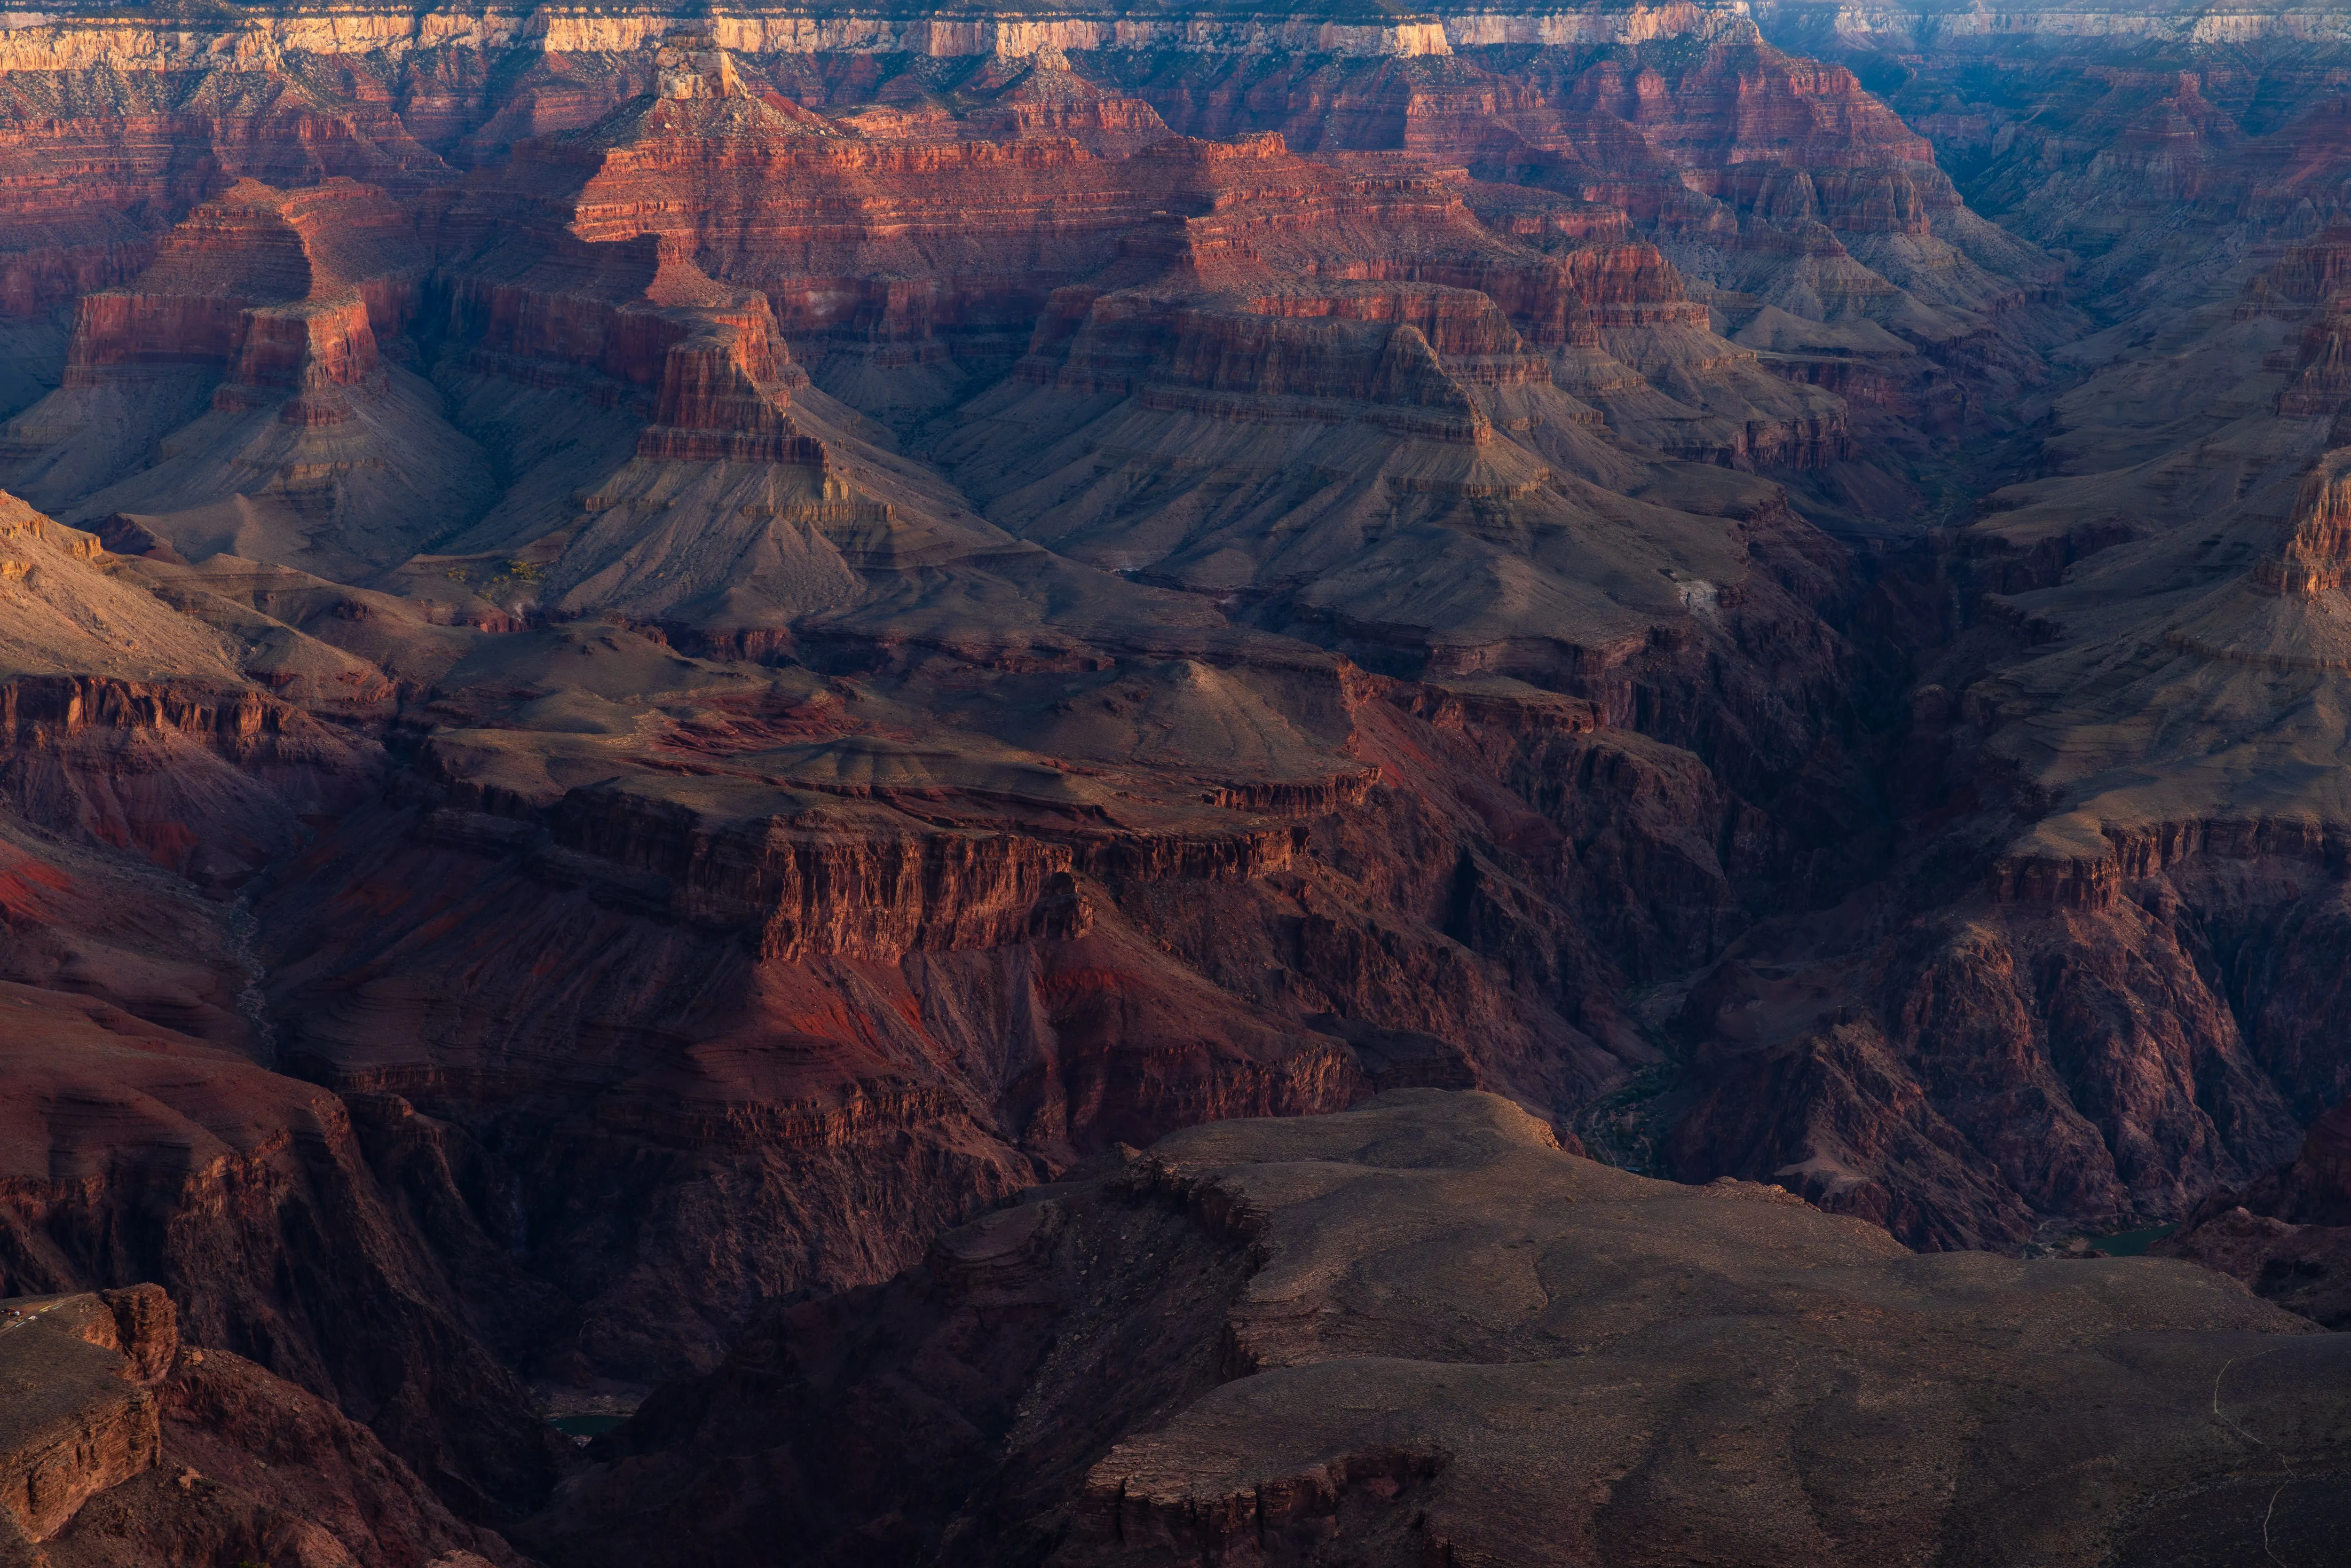
I'm a wildlife and landscape photographer living full-time on the road, roaming North America by RV. My work is a search for the quiet, fleeting moments where light and wild things meet — and an invitation to see the natural world a little more closely.
Each photograph is a story from the field. I hope they leave you with a deeper sense of wonder for the wild — and maybe the urge to go find some of it yourself.
Paul Anderson
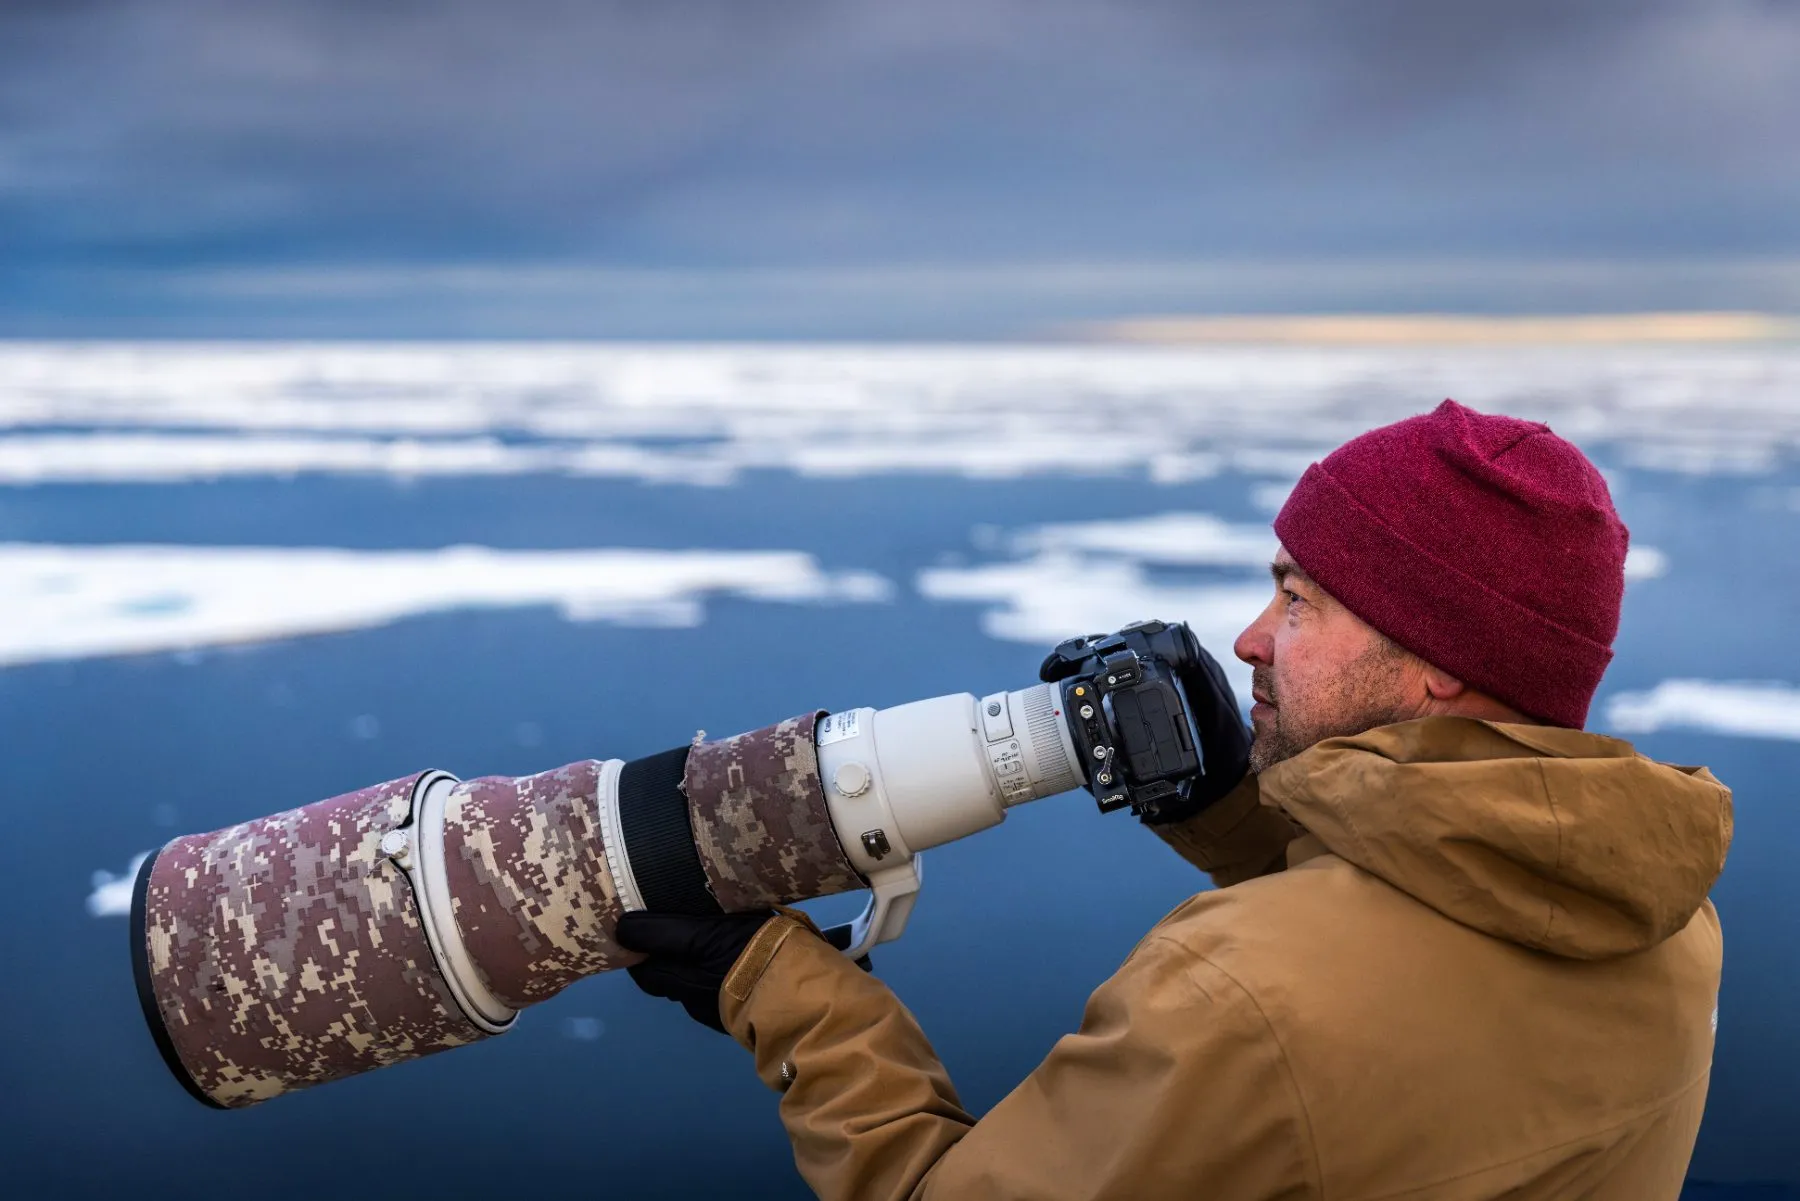
On the Road
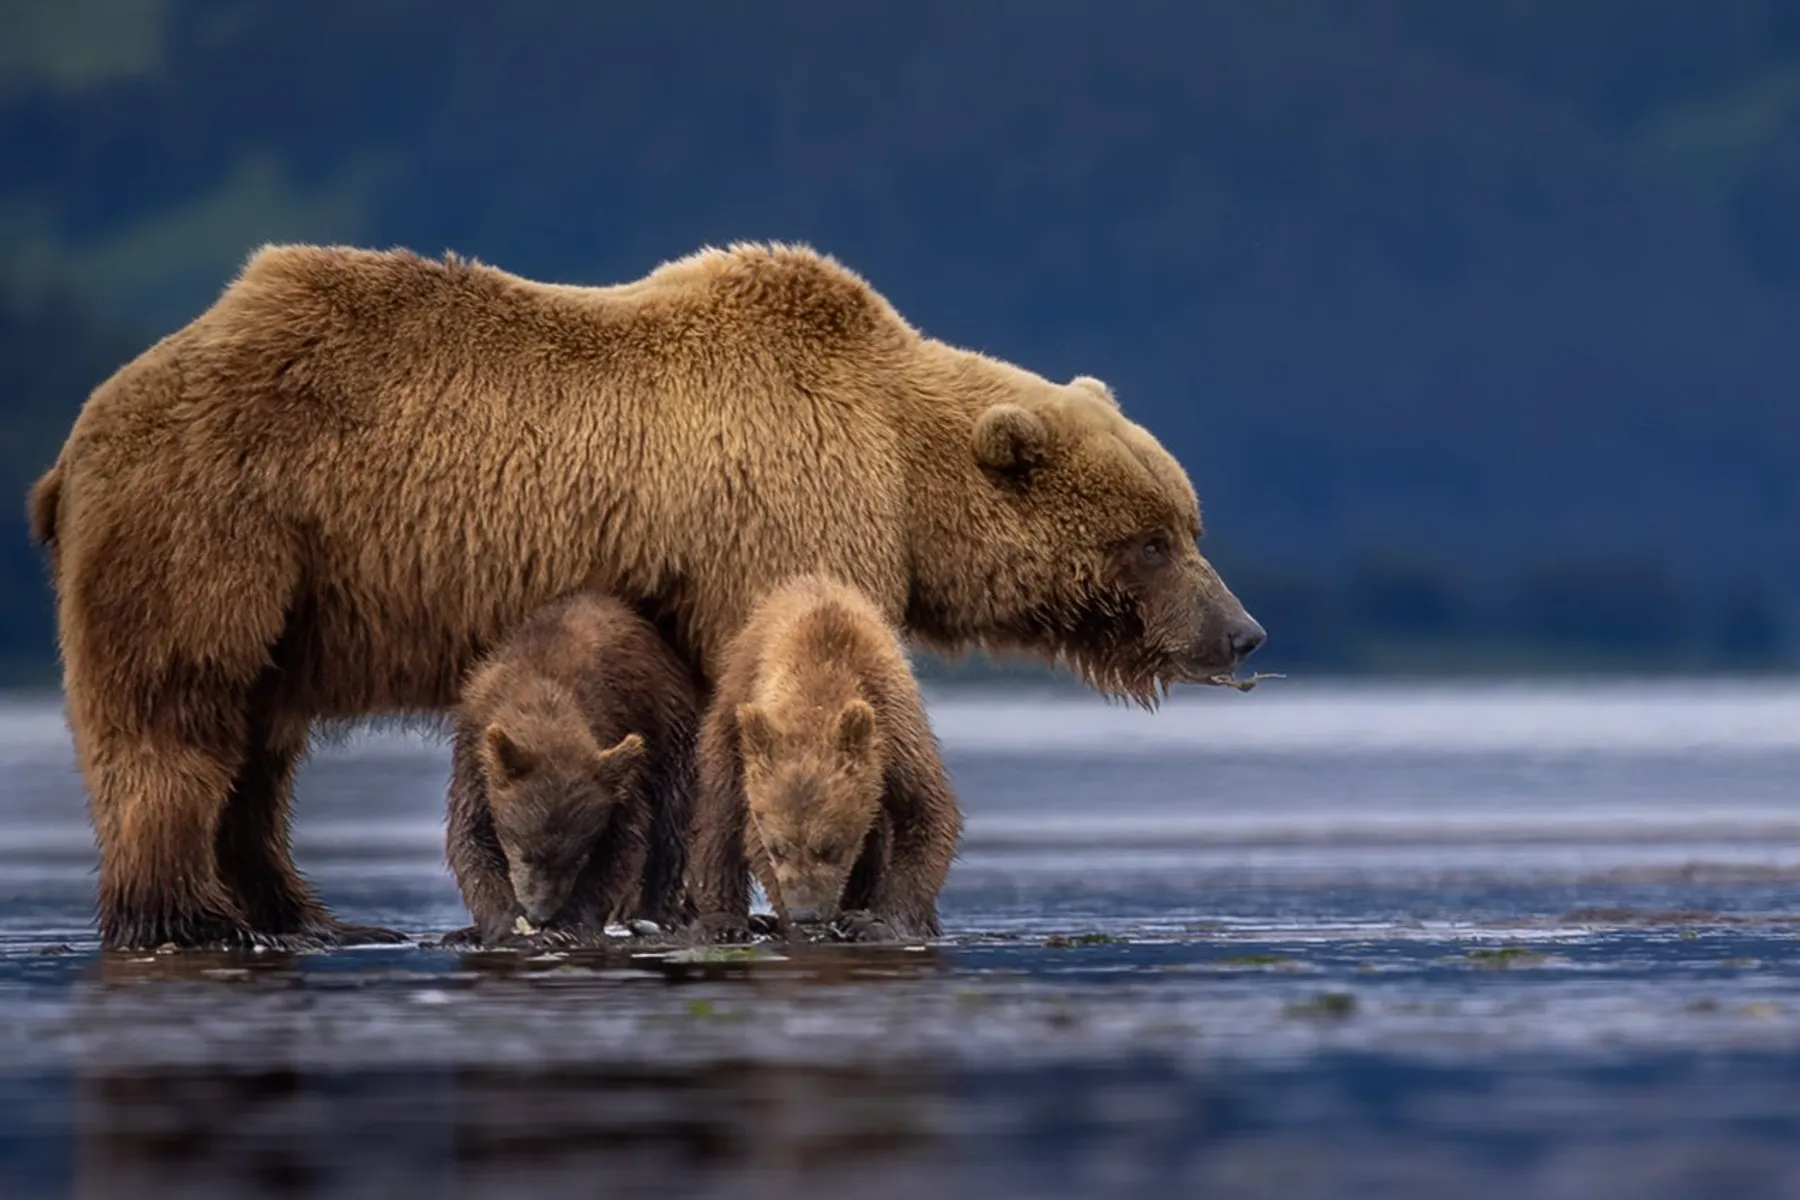
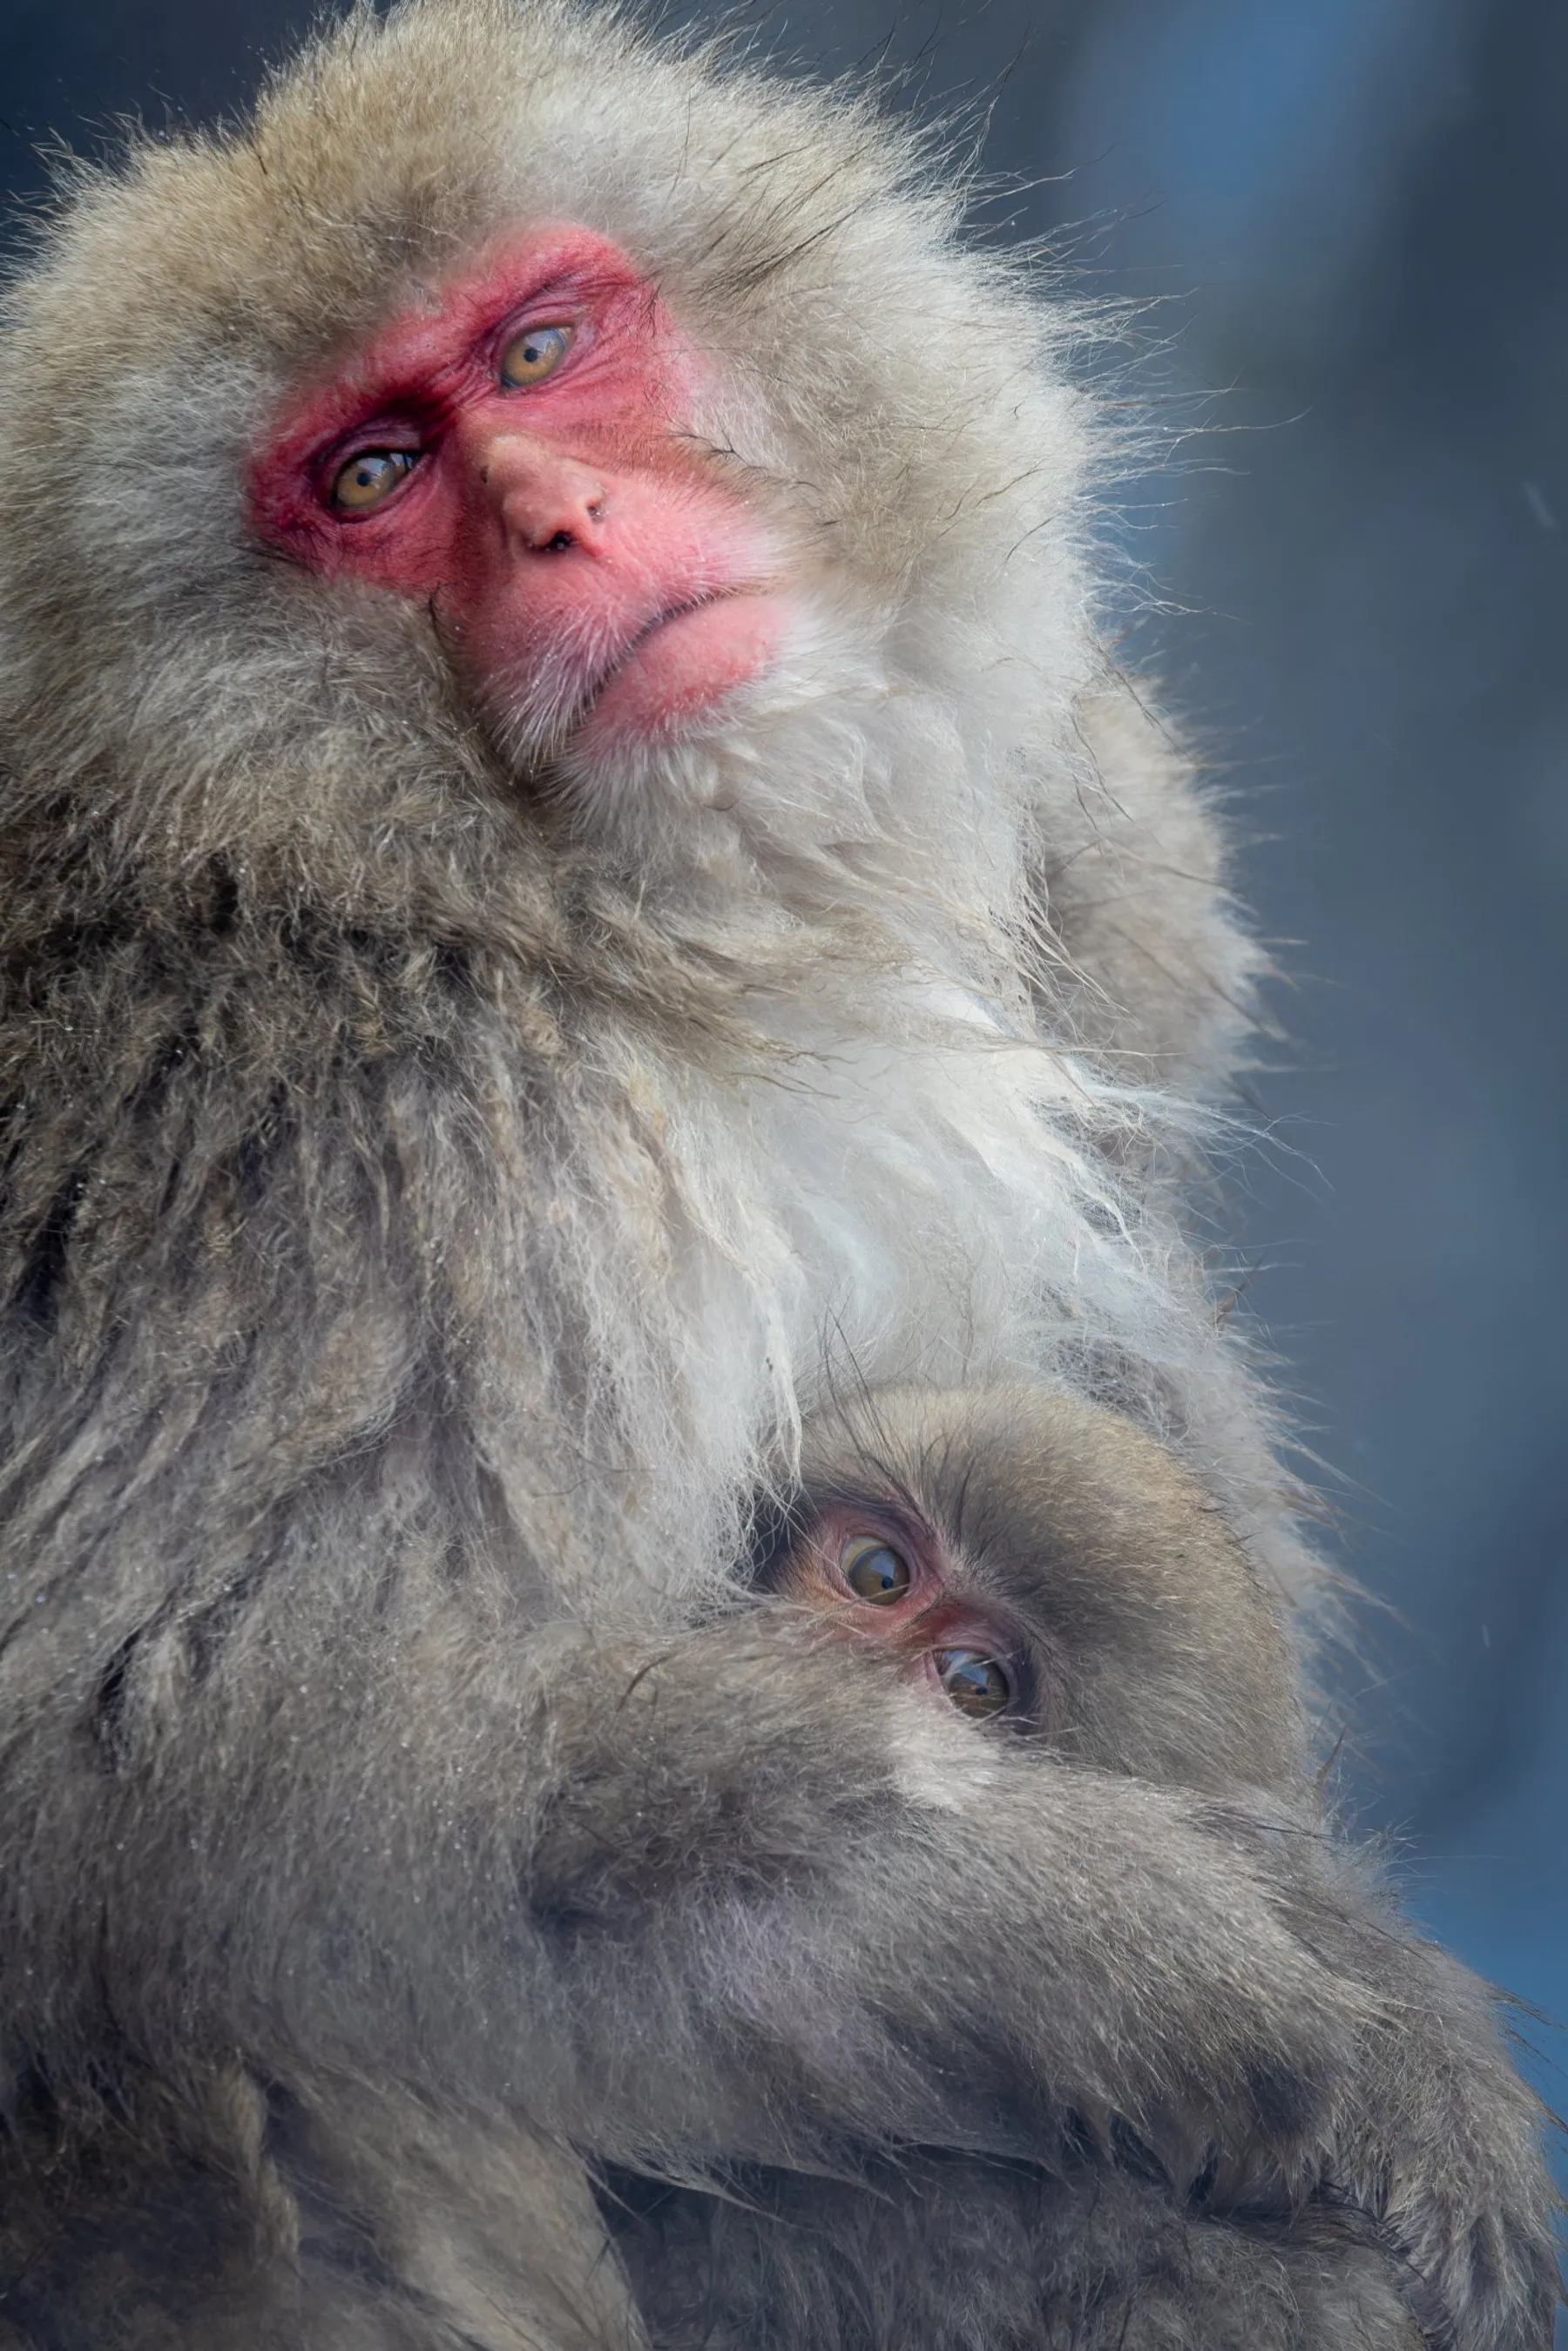
Selected Works
From the field


Recognition
Honored among the world's best
◆
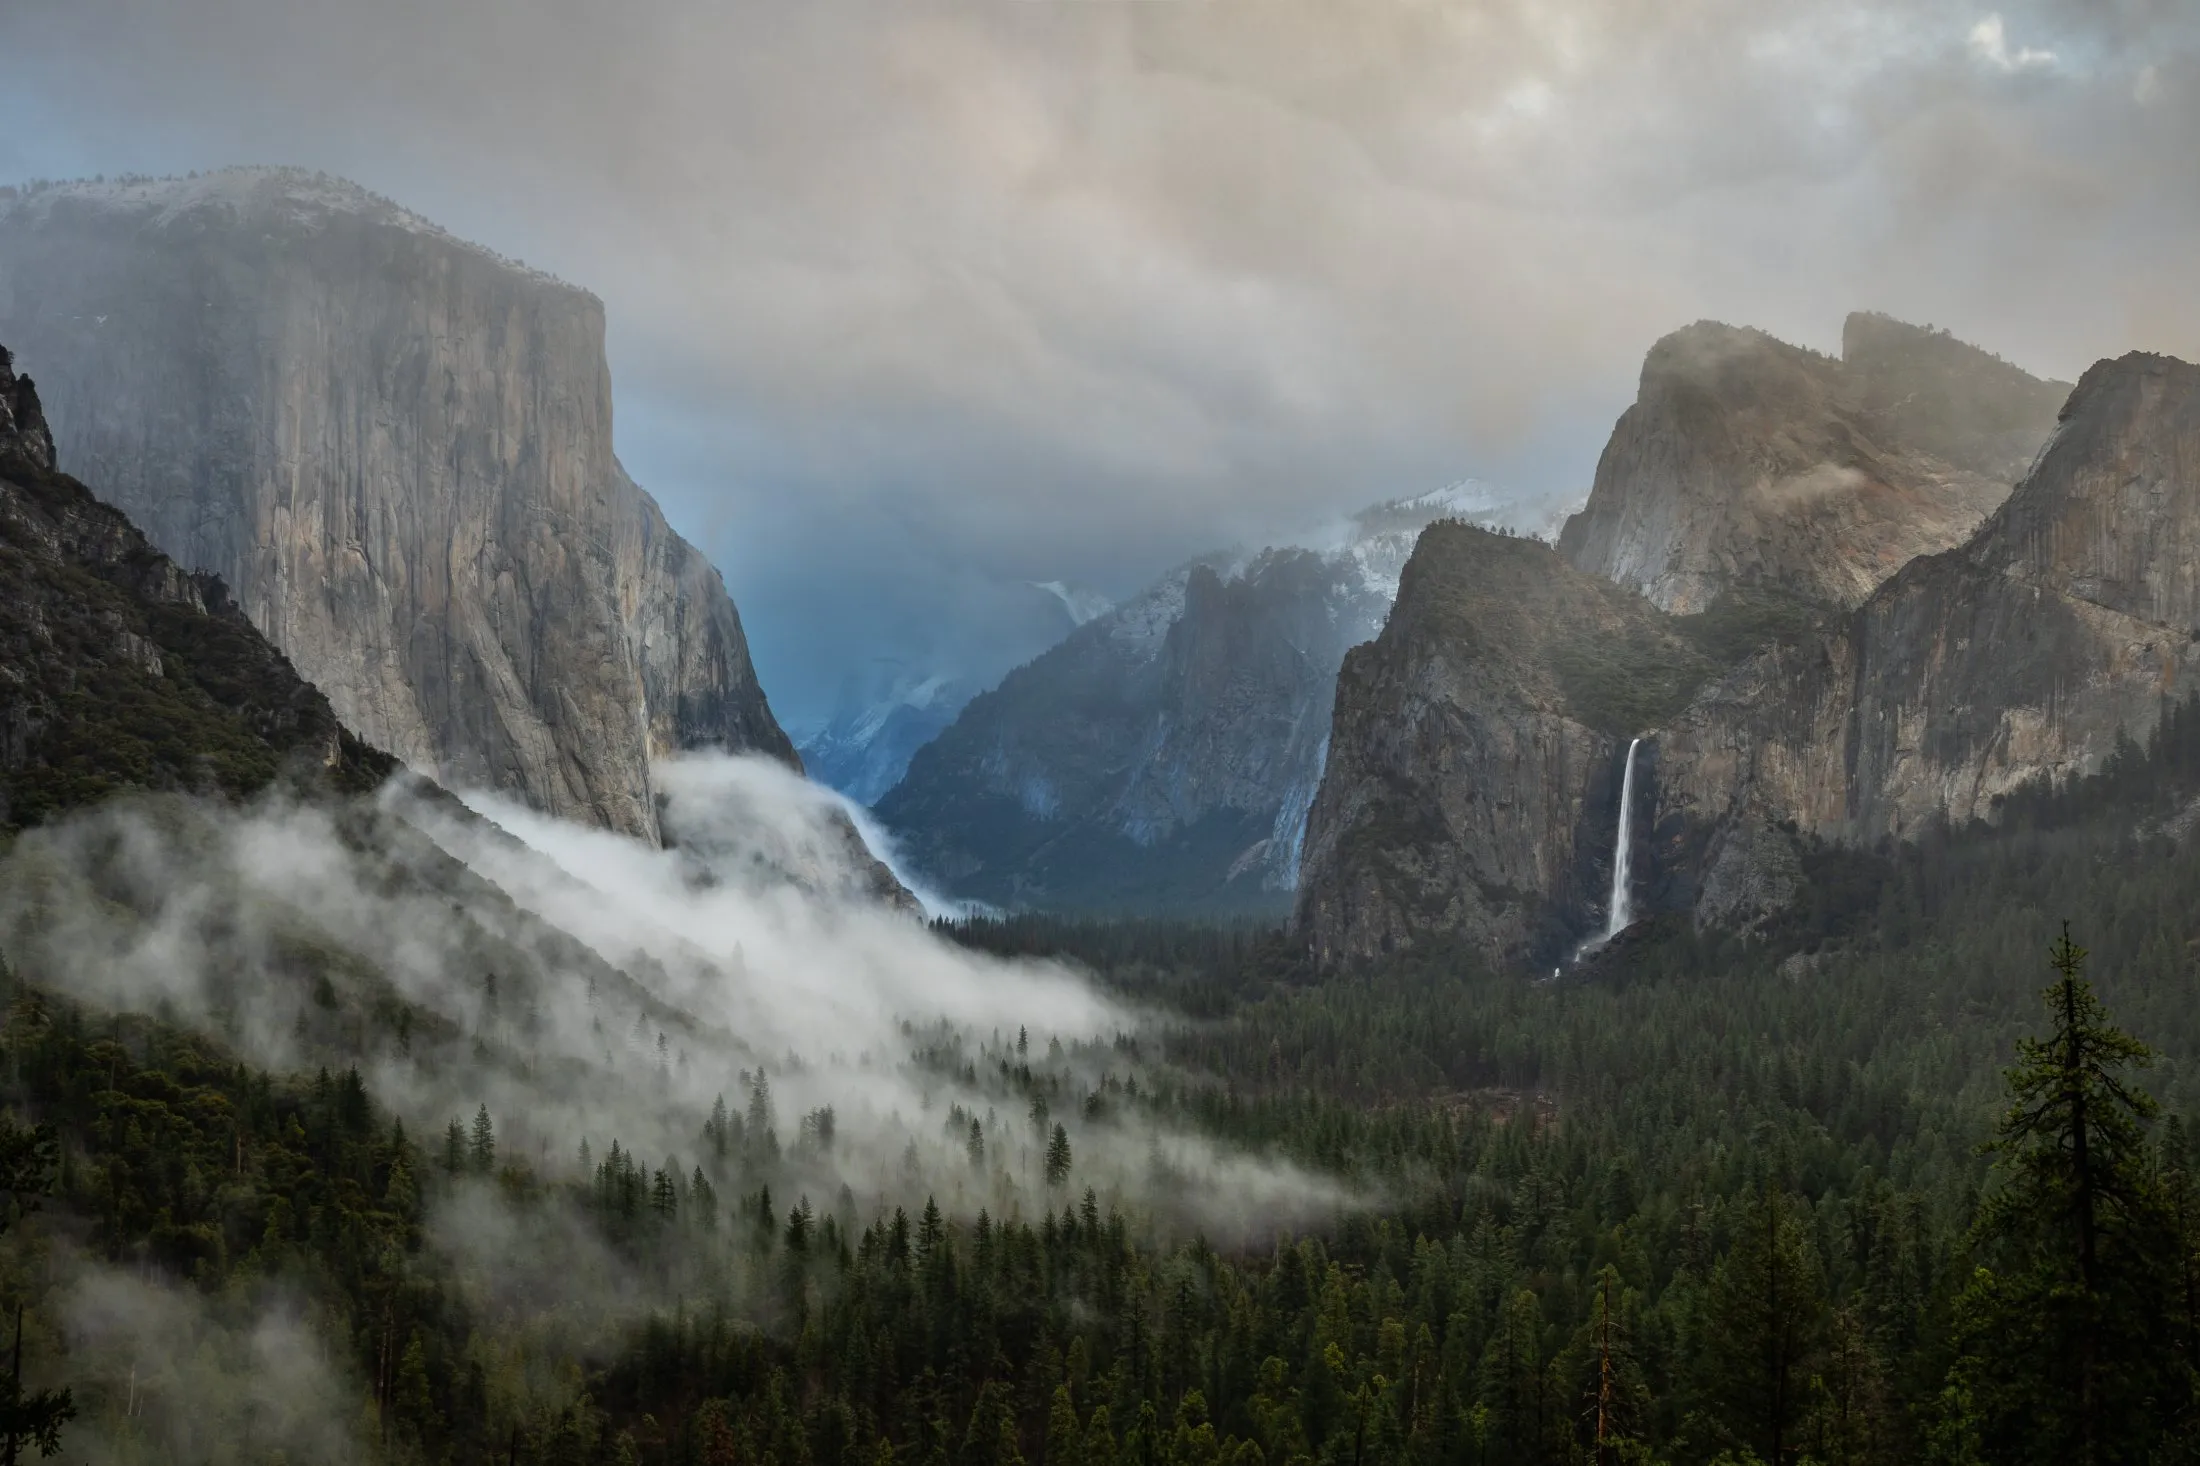
Top 20 · Landscape
Nature Photographer of the Year
2024
◆
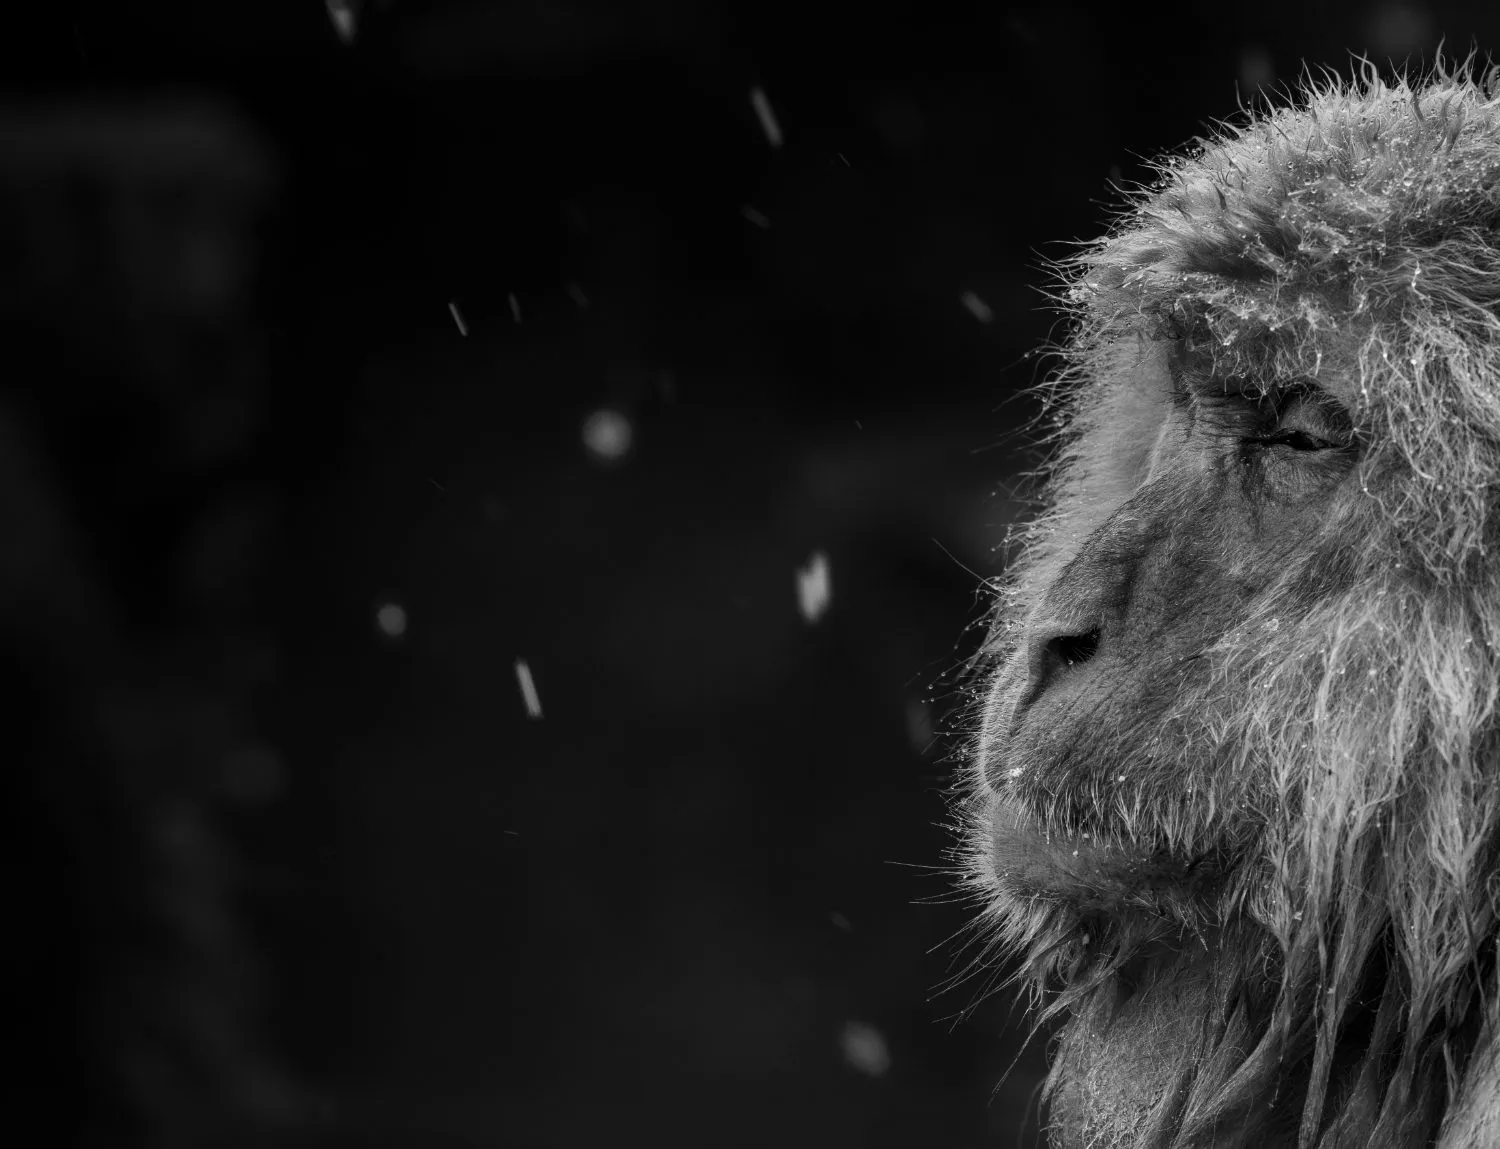
Honorable Mention
Monochrome Photography Awards
2024
◆
Top 250
NANPA
2024
Learn in the Field
Wildlife Photography Mentorship
Spend a year learning to read light, track wildlife, and build a portfolio you're proud of. A small-group mentorship for photographers ready to take the next step. Now forming the first cohort.
Explore Mentorship →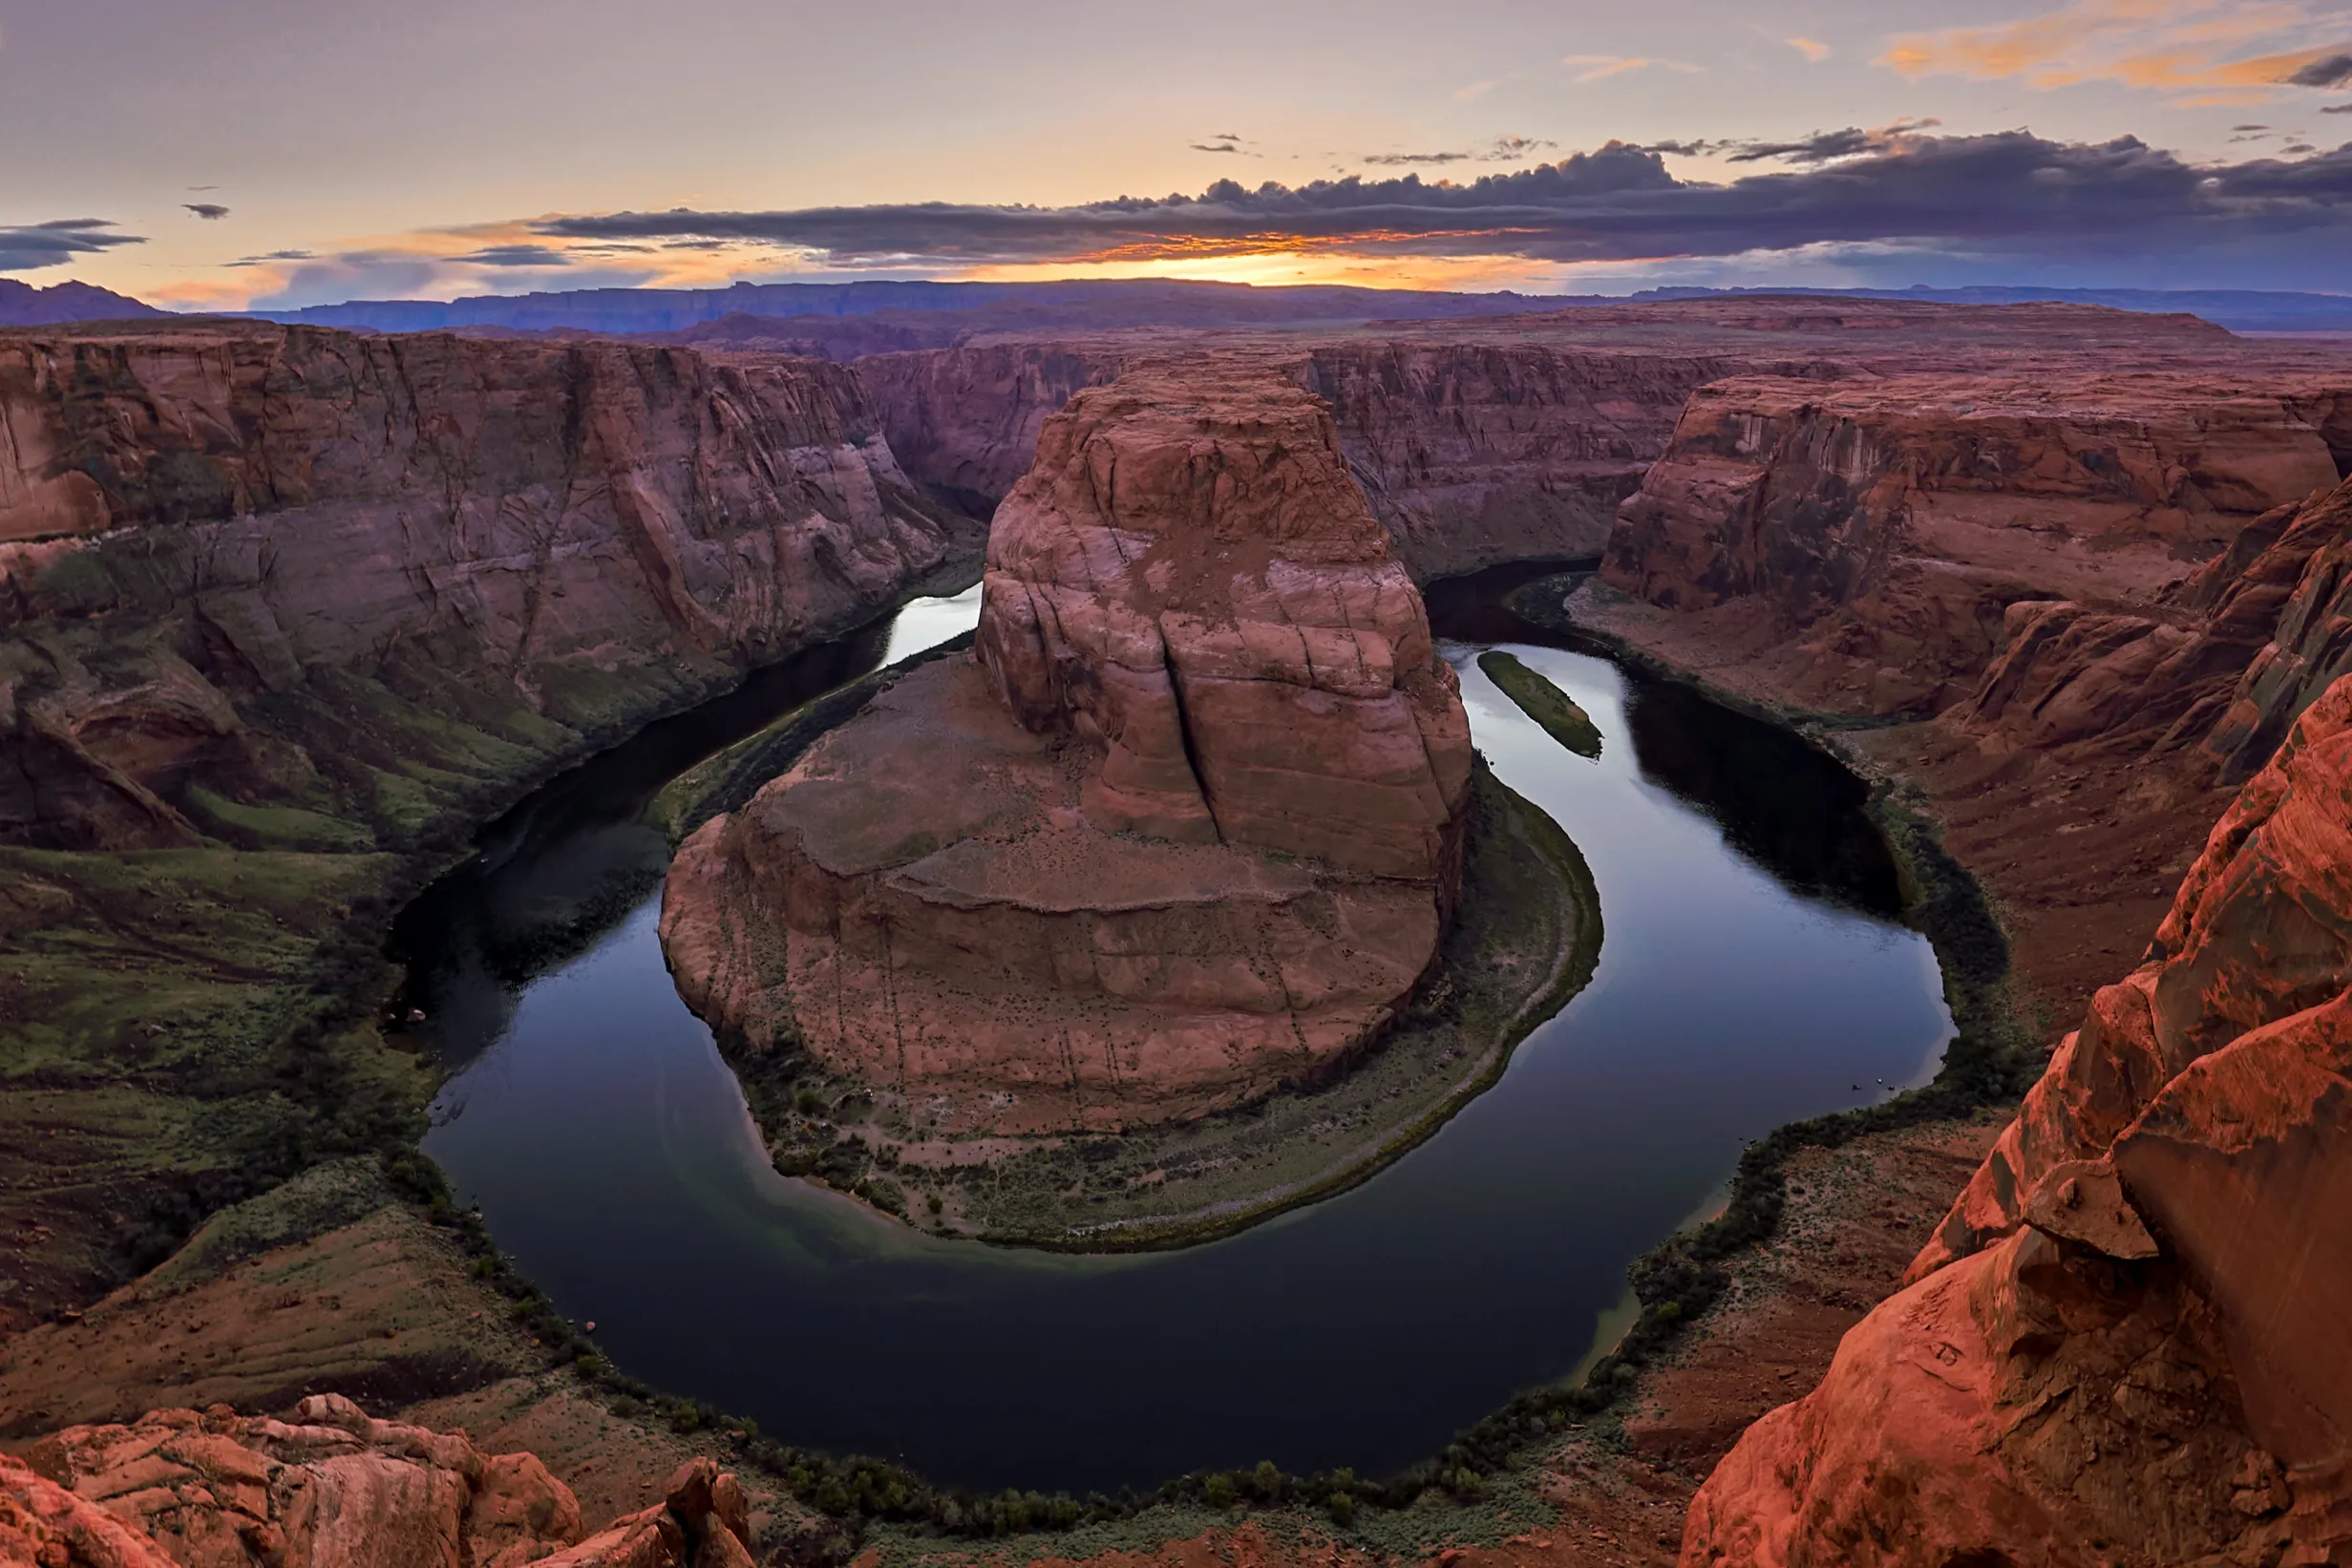

Stay Close
Follow the journey
New work from the field, print drops, and the occasional story from the road. No noise — just the wild, in your inbox.
@paulanderson_photography